

Table of contents
Udemy Course: Complete Web & Mobile Designer; UI/UX, Figma, +more by Andrei Neagoie & Daniel Schifano.
Episode 28: CSS 3
Introduction
We are now in CSS. CSS(Cascading Style Sheet) is used in beautifying a webpage. In this episode, I will be coding along with my instructor(Andrei), to make sure what I learn sticks.
CSS is structured in this pattern:
Selector {
Property: value;
}
Note:
Selector is used in selecting certain parts of the website to be styled.
Property specifies what aspect of the selector needs to be styled.
Value sets how we want to change the property.
How to Link CSS to your HTML File
Below is the screenshot of my code based on my CSS 3 practice lesson on how to link CSS to your HTML File:

Click on my CodePen link below, to view the source code of "How to Link CSS to your HTML File":
https://codepen.io/engrshege/pen/ZEPBNeo
Apart from linking CSS to our HTML File as we have done above, there are other two ways of adding CSS to an HTML File, which are: Inline CSS and Adding CSS <style> tag directly into our <head> tag in HTML.
Inline CSS
Example of an inline CSS code is written below:
<h2 style="color: green;">This is how an inline CSS is written into an HTML Element</h2>
This is an inline CSS, that directs the h2(Heading Level 2) to become color green.
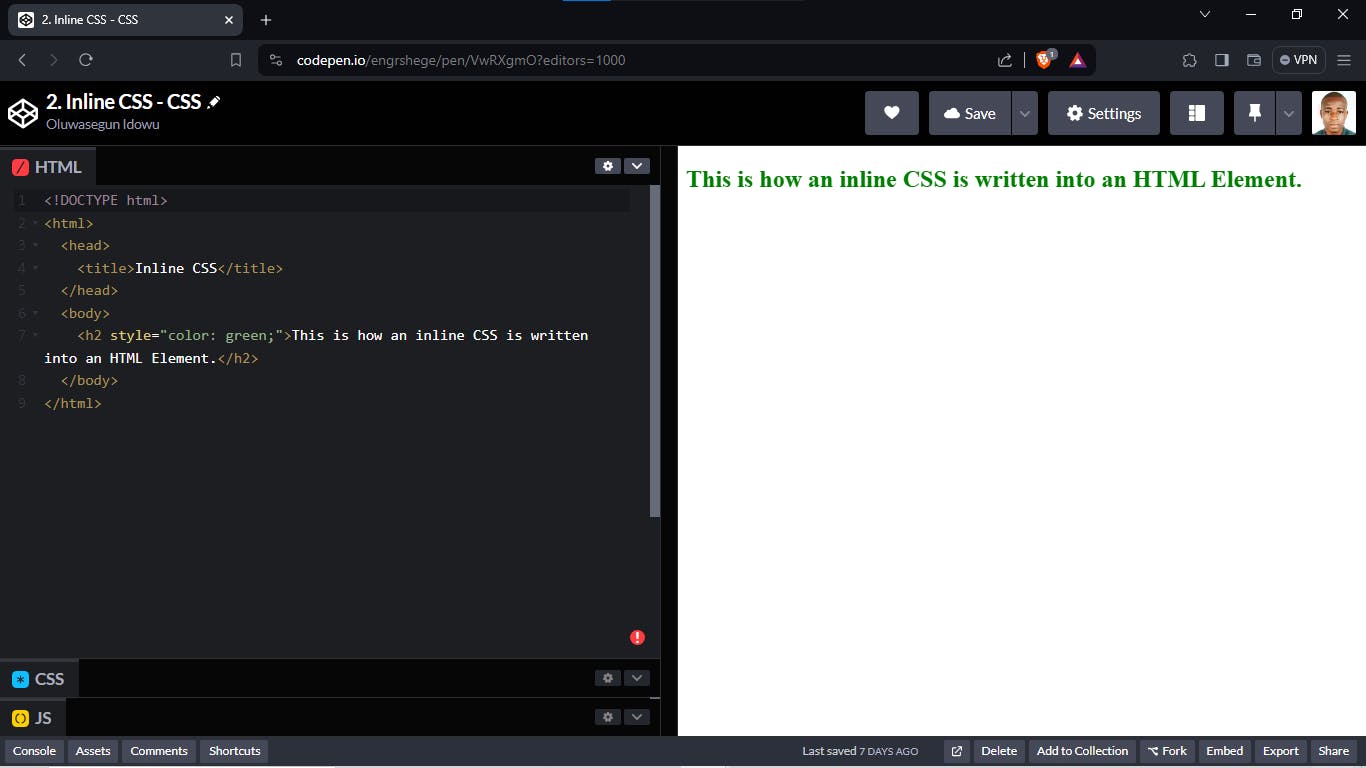
Click on my CodePen link below, to view the source code of "Inline CSS":
https://codepen.io/engrshege/pen/VwRXgmO
Adding CSS <style> tag to our <head> tag in HTML
If we follow the process of creating the <style> </style> element into the <head> tag of our HTML File, we can select the elements we would like to style within the <style> tags.
Let's see an example of how this could be done through the code below:
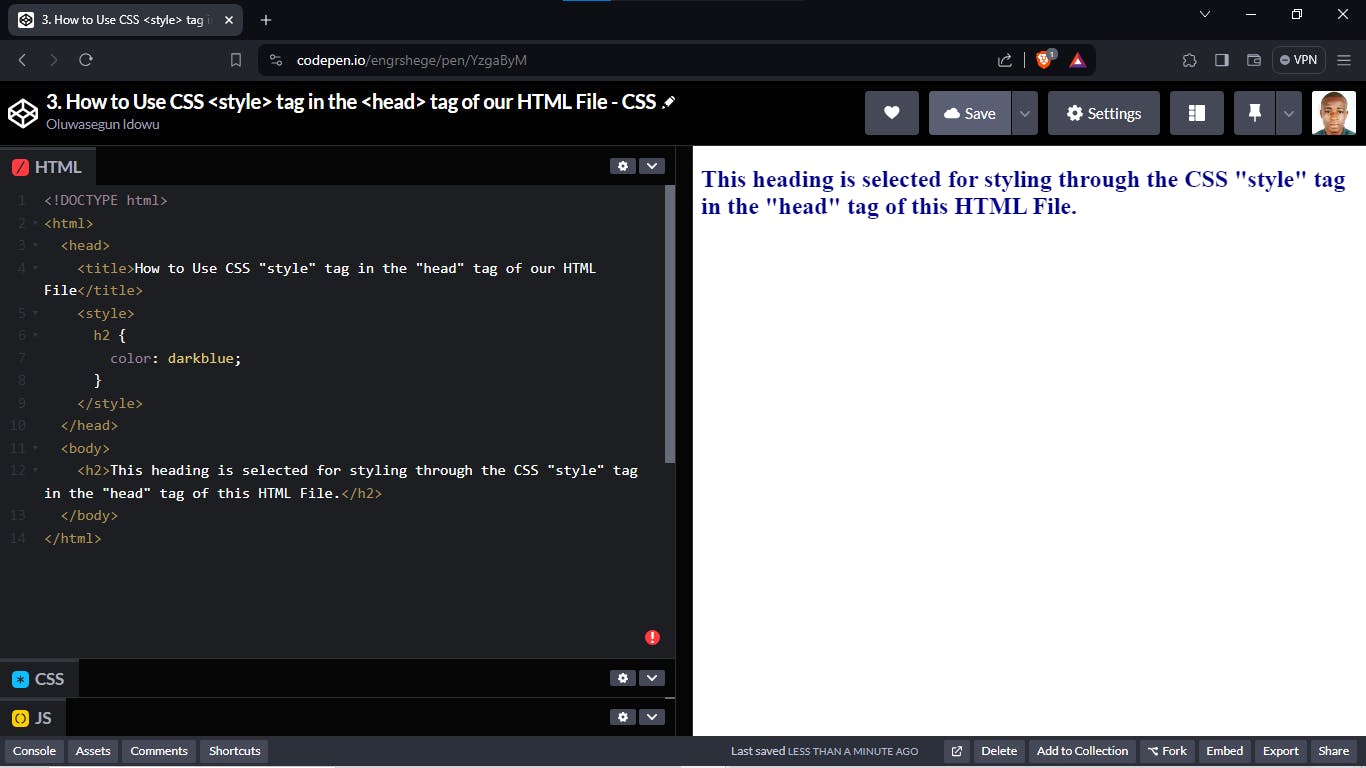
Click on my CodePen link below, to view the source code of "Adding CSS <style> tag to our <head> tag in HTML":
https://codepen.io/engrshege/pen/YzgaByM
Note: When working with a team, there is something called separation of concerns. This means that a certain part of the team is tasked to work on the HTML file while the other part of the team is tasked to work on the CSS file.
CSS Properties
Let's get introduced to other CSS Properties. Properties as the name suggest means, properties we want to change within our web page.
And you might be asking yourself how many CSS Properties exist. To get an overview of the CSS Properties we have, you can check the CSS resources from:

This website is highly recommended for CSS resources; you will find it exciting, especially if you go to the menu and almanac. Within the almanac, we have all the CSS properties listed.
There are many properties of CSS, but you don't need to know all of them or memorize them all because that's not realistic; that's not the best use of your time.
We are going to focus on the ones that you'll encounter most often and any time you see new ones pop up while you are working, you can always look them up and learn about them.
I tried out a few of the CSS Properties in a practice exercise. But it is advised to look up any CSS properties, to see how you can engage them in your code.
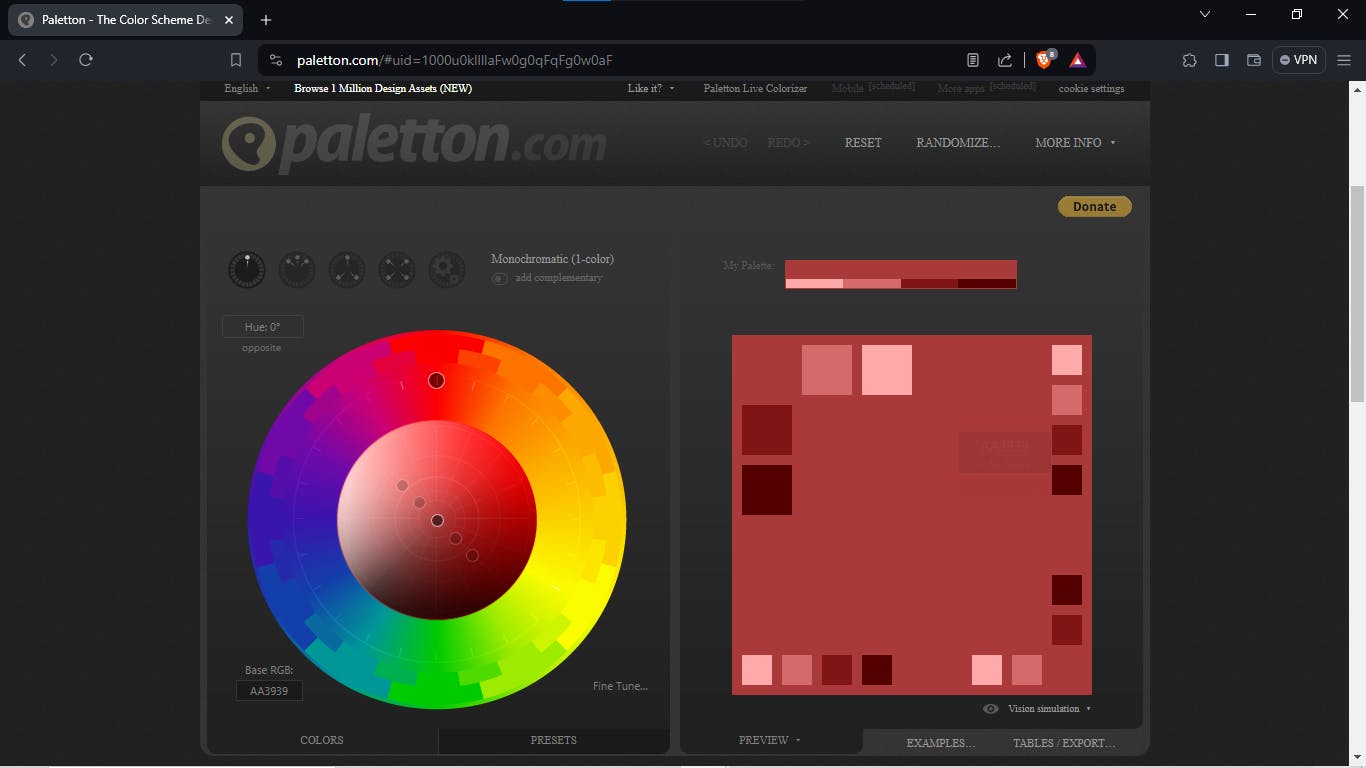
During my CSS Properties practice; my instructor(Andrei) introduced a website that would be helpful in picking/generating great color palette for designers or developers to use in their project.
The website is https://www.paletton.com
CSS Selectors
So far in the CSS Section of this course, I have seen single selectors but now the instructor introduces how we can collect multiple selectors with similar properties together.
For Example:
Selector, Another Selector {
Property: value;
}
i.e
h2, p {
color: blue;
}
Note: This means that both the h2 element and p element shares the same color.
CSS Cheat Sheet
My instructor(Andrei) compiled this amazing CSS Cheat Sheet to help me understand CSS better. The CSS Cheat Sheet is listed below:
Reference:
Cascading Style Sheets at the most basic level, it indicates that the order of CSS rule matters.
.class
#id
*
element
element, element
element element
element > element
element + element
:hover
:last-child
:first-child
!important(not recommended)
What selectors win out in the cascade depends on:
Specificity
Importance
Source Order
Note:
* ==> is not often used in CSS but it is used to select all elements.
element element ==> for example h2 p; this means select the p elements in h2 elements only.
element > element ==> for example h2 > p; this means that we want to select p elements that have parent of h2 element
element + element ==> for example h2 + p; this means select any p element that is exactly after an h2 element.
Text and Font
Let's look into a few text properties that we can add to a CSS file:
text-decoration: underline; ==> this means that we are decorating a text by underlining it.
text-transform: uppercase; ==> this means that though the text in our code might have been written in lowercase but we want to transform it into an uppercase text.
line-height: 20px; ==> this means that the spaces between each line of a sentence/paragraph is set to 20px.
font-style: italic; ==> this means that the font is italicized.
font-weight: 100; ==> you can do numbers within 100-900 or put up e.g. 'bold' to change the weight a font carries.
font-size: 2rem; ==> you can put up px, em, rem or even use percentage to set the size of a font.
font-family: Georgia; ==> this is used in setting up the font family we want.
Images in CSS
We can add images to our website using the html image tag below:
<img src="http://www.kiss1077.ca/wp-content/uploads/sites/30/2017/08/FluffyFace-copy.jpg" width="200px" height="200px">
But some attributes of the image tag can be controlled with CSS; take for example we need the image to float to the left so that text could get wrapped around it. We can do that with the CSS instruction below:
img {
float: left;
}
Note: When float is used, it might still affect other elements under it. Take for example a footer element is affected by the float and we don't want it to be floated.
To correct this we can write the CSS code below instructing the footer element to clear the float:
footer {
clear: both;
text-align: center;
}
The Box Model
The Box Model is a very important concept in CSS. The Box Model is illustrated in the image below.
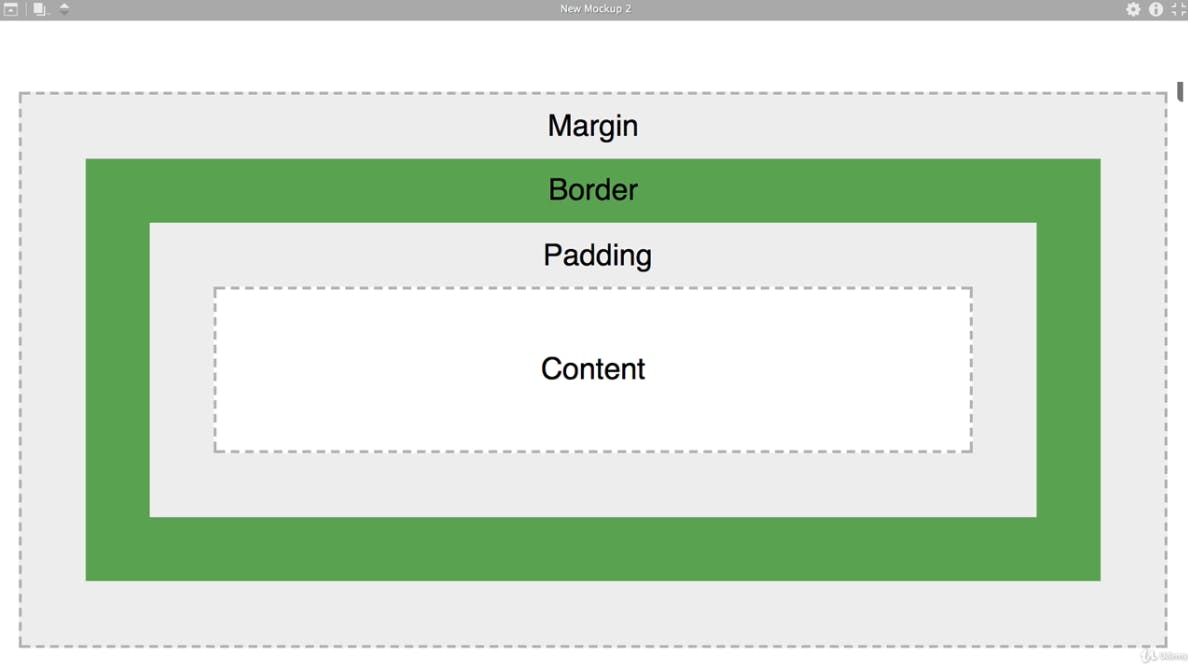
Note: All HTML Elements follows the concept of the box model.
px vs em vs rem
px, em and rem are the different ways you can set the size of something in your code.
px ==> this represent the unit in pixel you want to set the value to.
em ==> this is relative to the size of the parent element.
rem ==> this is the size in relation to the size of the root element.
Critical Render Path
Here, my instructor(Andrei) expatiate on how a website is rendered online. Meaning the path that a website takes to display something to the user.
Using the illustration in the image below, we noticed how the browser requested for the HTML, CSS and Font Files respectively from the Server.

My instructor(Andrei) suggested that to make our website load up faster, we can consider minifying our CSS code; by doing this, we are reducing the size(byte) of our code, which helps our website load faster when the browser is loading up the page files.
To minify our CSS code, we can check out the link below: https://cleancss.com/css-minify/
Flexbox
One of the biggest problems that people have and the hardest problem with CSS is always making sure that we have our items displayed in the location we want.
There are many solutions to this problem but one of the most popular way is called Flexbox.
And we will be using this Flexbox to create a beautiful image website. Now let's jump into practice.

Click on my CodePen link below, to view the source code of my practice on "Flexbox":
https://codepen.io/engrshege/pen/KKEZNEE
Below is the link to a complete guide on Flexbox from our good friend[CSS Tricks]:
https://css-tricks.com/snippets/css/a-guide-to-flexbox/
One of the best way to get really good at Flexbox is to play this game called "Flexbox Froggy". Here is the link to the game:
Below is the link to a great resource for Flexbox by Darek Kay:
https://darekkay.com/flexbox-cheatsheet/
CSS 3
Let's look into CSS 3. Just as HTML 5 is the current evolution of HTML; so is CSS 3 the current evolution of CSS, where we have added new properties and new features to adapt to the new demands of website designs.
In an ideal world, everybody agrees on what CSS does. The different browsers have different developers and teams that work on implementing the CSS features but some browsers might work with some property; some might not, because they haven't gotten around to making it work.
PS: I looked into how I can add some of the new features of CSS 3 into my previous practice on Flexbox. So, I introduced Transition and hover Transform into the practice assessment to help improve its design.
I learned how to add 3D shadow with browser prefix.
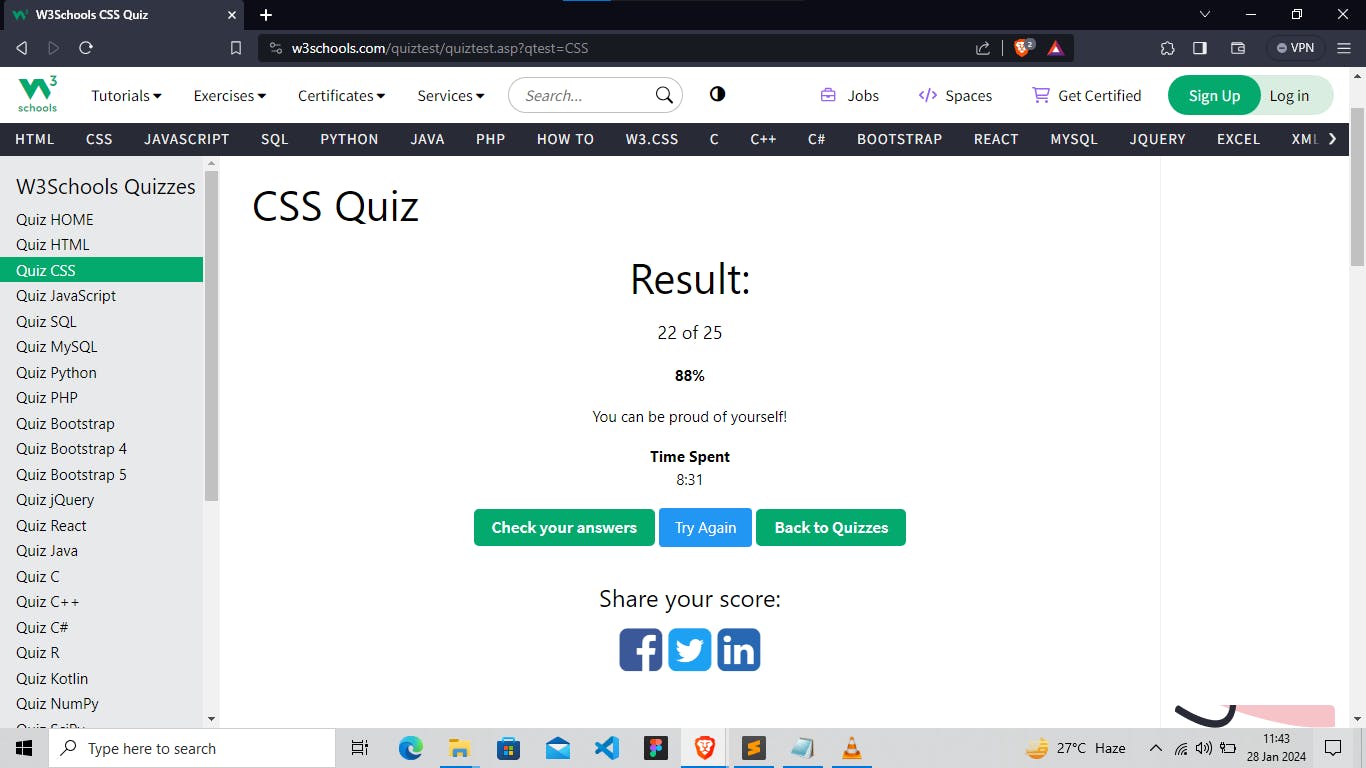
I took the W3Schools CSS 3 quiz challenge and I got 22 of 25 at my first trial.
Responsive UI
Whenever we have a request from an employer to build a website or a web app, one of the first things they will ask is to make sure that your website is responsive. This means that users should be able to view your website comfortably on any device.
So keep in mind that Responsive UI should be a priority when building websites.
Exercise: Robot Animation
I did the CSS Challenge by assembling the Robot together through my code.

Thank you for reading my blog post. Kindly follow me for more design updates.
It took a while to document this Episode because my laptop got faulty and I was really bothered about how I could continue learning without a laptop. But, Big Shout Out to @oluwazini for coming through for me with monetary support towards repairing my laptop so as to get back on course. I won't forget your kindness to me brother! 💜
Indeed, the journey gets better! 💪
Now, let's continue from where we stopped! 🚴
#Figma #ProductDesign #UXUIDesign #UXUI #UIUXCourse #Branding #BrandStrategy #UIElement #Design #DeveloperFundamental #CSS3 #InlineCSS #CSSProperties #CSSSelectors #BoxModel #px #em #rem #Flexbox #Udemy #UdemyCourses #ZTM #ZeroToMastery #DocumentingMyTechJourney #BuildingMySkillset #TechSkill #SkillSets #ProductDesigner #EngrShege #ES